Explore Sample Applications
- Thomas Watteyne
- Jonathan Simon
- Dust Writer [linear]
At this point we expect the IAR tool chain to be installed and set-up.
To verify its functionality, this section shows you how to build and load the sample applications on your board. These sample applications are described in detail in the Sample Applications later in this guide.
Browsing Through Sample Applications
The
contains an IAR workspace atonchipsdk/
projects/iar/all_projects.eww. Double-click on this file to open the workspace.
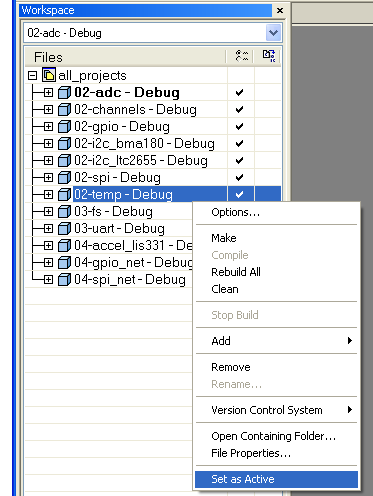
The column on the left lists a number of IAR projects, each corresponding to a sample application. You can switch between projects by right-clicking on the project name you want, and choosing Set as Active.
Building a Sample Application
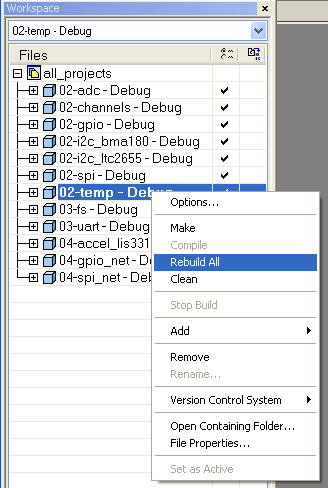
To build a project, right-click on the project name and choose Rebuild All. IAR now executes the following steps:
- Compile the C source code files listed in the projects file hierarchy into object files.
- Link those object files with the
SmartMesh library
, producing an ELF file. - Convert that ELF file to a binary file.
Building configuration: 02-temp - Debug
Updating build tree...

22  file(s) deleted.
Updating build tree...
cli_task.c
temp_app.c
dnm_cli_util.c
dnm_cli.c
dnm_local.c
notification_task.c
Linking
ocfdk_02-temp.out

Total number of errors: 0
Total number of warnings: 0
Loading a Sample Application
You have two options for loading your application onto your -based board.
Load the ELF File for Debugging
To be able to debug your application, you need an in-circuit debugging probe. The projects have been set up for the j-link.
Using the i-jet debug probe
The IAR projects in the
On-Chip Software Development Kit
are set up to use the j-link debug probe. If you are using the i-jet, you need to change your project options as follows:
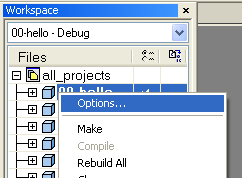
- right-click on your project and select options
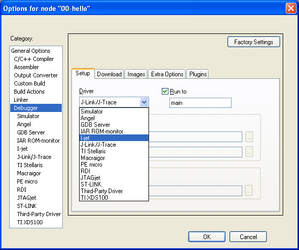
- in the options, under Debugger, Setup, set Driver to I-jet.
- The first time run the project, you will see the following message. Click OK.
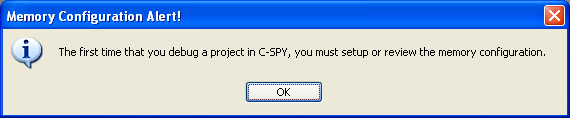
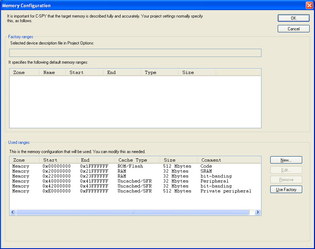
- In the Memory Configuration window, click OK.
This option is best suited when developing your application. It allows you to use on-chip debugging tools such as breakpoints and live watch.
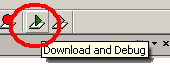
- In your IAR project, click on the Download and Debug button.
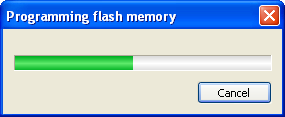
- This builds the project and loads your application file onto your -based board.
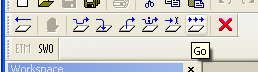
- After your program has loaded, you can start execution by clicking the Go button to start execution.
- You can now halt the execution, place breakpoints, and inspect variables.
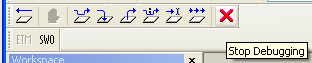
- Click the Stop Debugging button to exit the debugging section.
This procedure only loads the main executable. For the board to function correctly, you also need to load additional elements in flash (fuse table, partition table, loader).
We recommend you follow the steps in the Programming Eterna Devices page once, after which you can replace the main executable multiple times using the procedure above. When reprogramming, IAR only replaces the main executable while other elements in flash (fuse table, partition table, loader) remain untouched.
One side-effect is that, even if you replace the main executable, the file system remains untouched. If you had created files with a previous main executable, those files are still there after reprogramming the device using the procedure above. You can use the
Eterna Serial Programmer
to erase the file system.
Load the binary file
This option is best suited when you are done creating your application, and you want to deploy it on one or more motes without needing debugging capabilities.
IAR is configured to output both an ELF and a binary file (see Installing the IAR Tool Chain).
You can use the
Eterna Serial Programmer
tool to load this binary file as the main application by following the steps in the Programming Eterna Devices section.This option replaces the entire flash image. This means that:
- you lose any nonvolatile configurations during the loading process, such as the netid.
- you lose the security state maintained between the manager and the mote. If the mote you are reprogramming previously joined a manager, you need to power-cycle the manager before the mote can re-join, or delete the mote (from CLI or API).