| Info | ||
|---|---|---|
| ||
|
| Gliffy | ||||||
|---|---|---|---|---|---|---|
|
| Table of Contents |
|---|
Prepare the Raspberry Pi
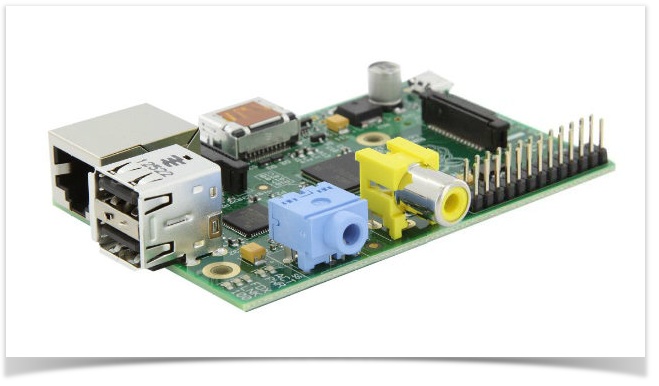
- We use the Raspberry Pi model B
- Install Raspbian (as part of NOOBS, we use NOOBS 1.3.9)
If are connecting your SmartMesh IP Manager through the UART pins:
Tip You do not need to do these steps if you plan on connecting your SmartMesh IP Manager over USB.
By default, the Raspberry Pi uses the UART pin as a command line interface for Linux. After the first boot, you need to configure Linux to not use those pins:In
/etc/inittab, replaceNo Format with
No Format In
/boot/cmdline.txt, replaceNo Format with
No Format Reboot the Raspberry Pi so these changes take effect
Code Block
Hardware Connections
| Tip |
|---|
You do not need to do these steps if you plan on connecting your SmartMesh IP Manager over USB. |
We are connecting the serial API port of the SmartMesh IP manager to the UART on the Raspberry Pi.
Pinout of the Raspberry Pi header:
3.3V | 1 | 2 | 5V |
|---|---|---|---|
I2C0 SDSA | 3 | 4 | DNC |
I2C0 SCL | 5 | 6 | GND |
GPIO4 | 7 | 8 | UART TXD |
DNC | 9 | 10 | UART RXD |
GPIO 17 | 11 | 12 | GPIO 18 |
GPIO 21 | 13 | 14 | DNC |
GPIO 22 | 15 | 16 | GPIO 23 |
DNC | 17 | 18 | GPIO 24 |
SP10 MOSI | 19 | 20 | DNC |
SP10 MISO | 21 | 22 | GPIO 25 |
SP10 SCLK | 23 | 24 | SP10 CE0 N |
DNC | 25 | 26 | SP10 CE1 N |
Connections between the Raspberry Pi and DC9003 SmartMesh IP Manager
| Raspberry Pi pin | DN9903 pin name (silkscreen) |
|---|---|
GND | GND |
3.3V | VBAT |
UART TXD | RX |
UART RXD | TX |
GND | TX CTSn |
GND | RX RTSn |

Install DustLink
The Raspberry Pi comes with Python 2.7, so you can run any application developed using the SmartMesh SDK. Here, we will run DL:
- Download the latest release from https://github.com/dustcloud/dustlink/releases on your computer, as a zip file.
- Transfer it to your Raspbery Pi, for example using SCP.
Enter the following commands to install DustLink (you only need to do this once)
Code Block Start DustLink
Code Block - In your browser, open
http://<your_raspberry_pi_ip_address>:8080/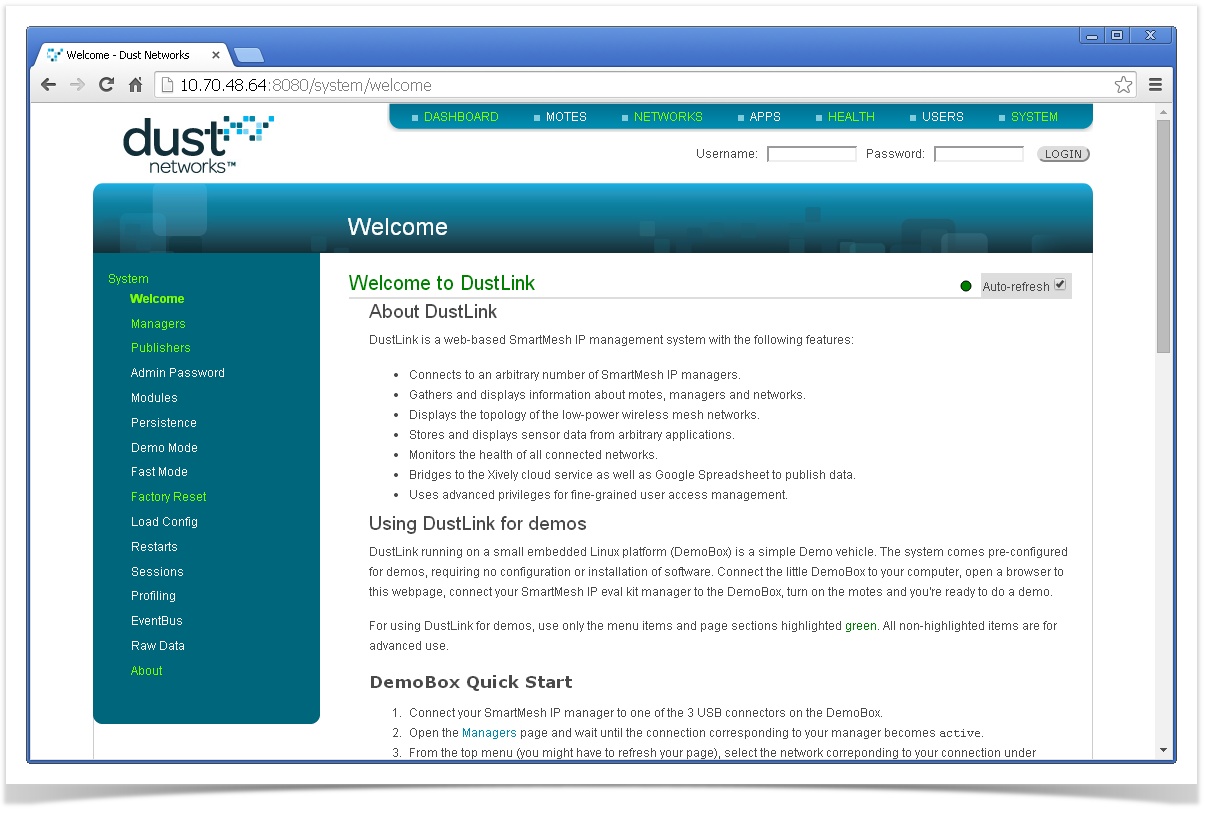
Configure DustLink
- Log into the web interface using:
- username:
admin - password:
admin
- username:
- Navigate to
Managers - Under the
Addsection, enter/dev/ttyAMA0and press Enter. After 10s, this connection is active
Refer to the DL documentation for information on using DustLink.
Start DustLink on boot
Install
screen:Code Block Create file
/home/pi/startDustLink.shwith the following content:Code Block Change ownership and permission for that file and the DustLink folder:
Code Block Have
cronstart DustLink on reboot:Code Block then, add the following line:
Code Block Reboot the Raspberry Pi
Code Block
| Tip | ||
|---|---|---|
| ||
Raspberry Pi is a trademark of the Raspberry Pi Foundation. See http://www.raspberrypi.org/ for details. |