...
| Info | ||
|---|---|---|
Expected completion time of this lab:
. |
| Table of Contents |
|---|
Step 1: Create your IBM Cloud account
| Info |
|---|
You will create an IBM Cloud account, which you can use throughout these labs. Accounts are free for 30 days. |
- create an account at https://cloud.ibm.com/
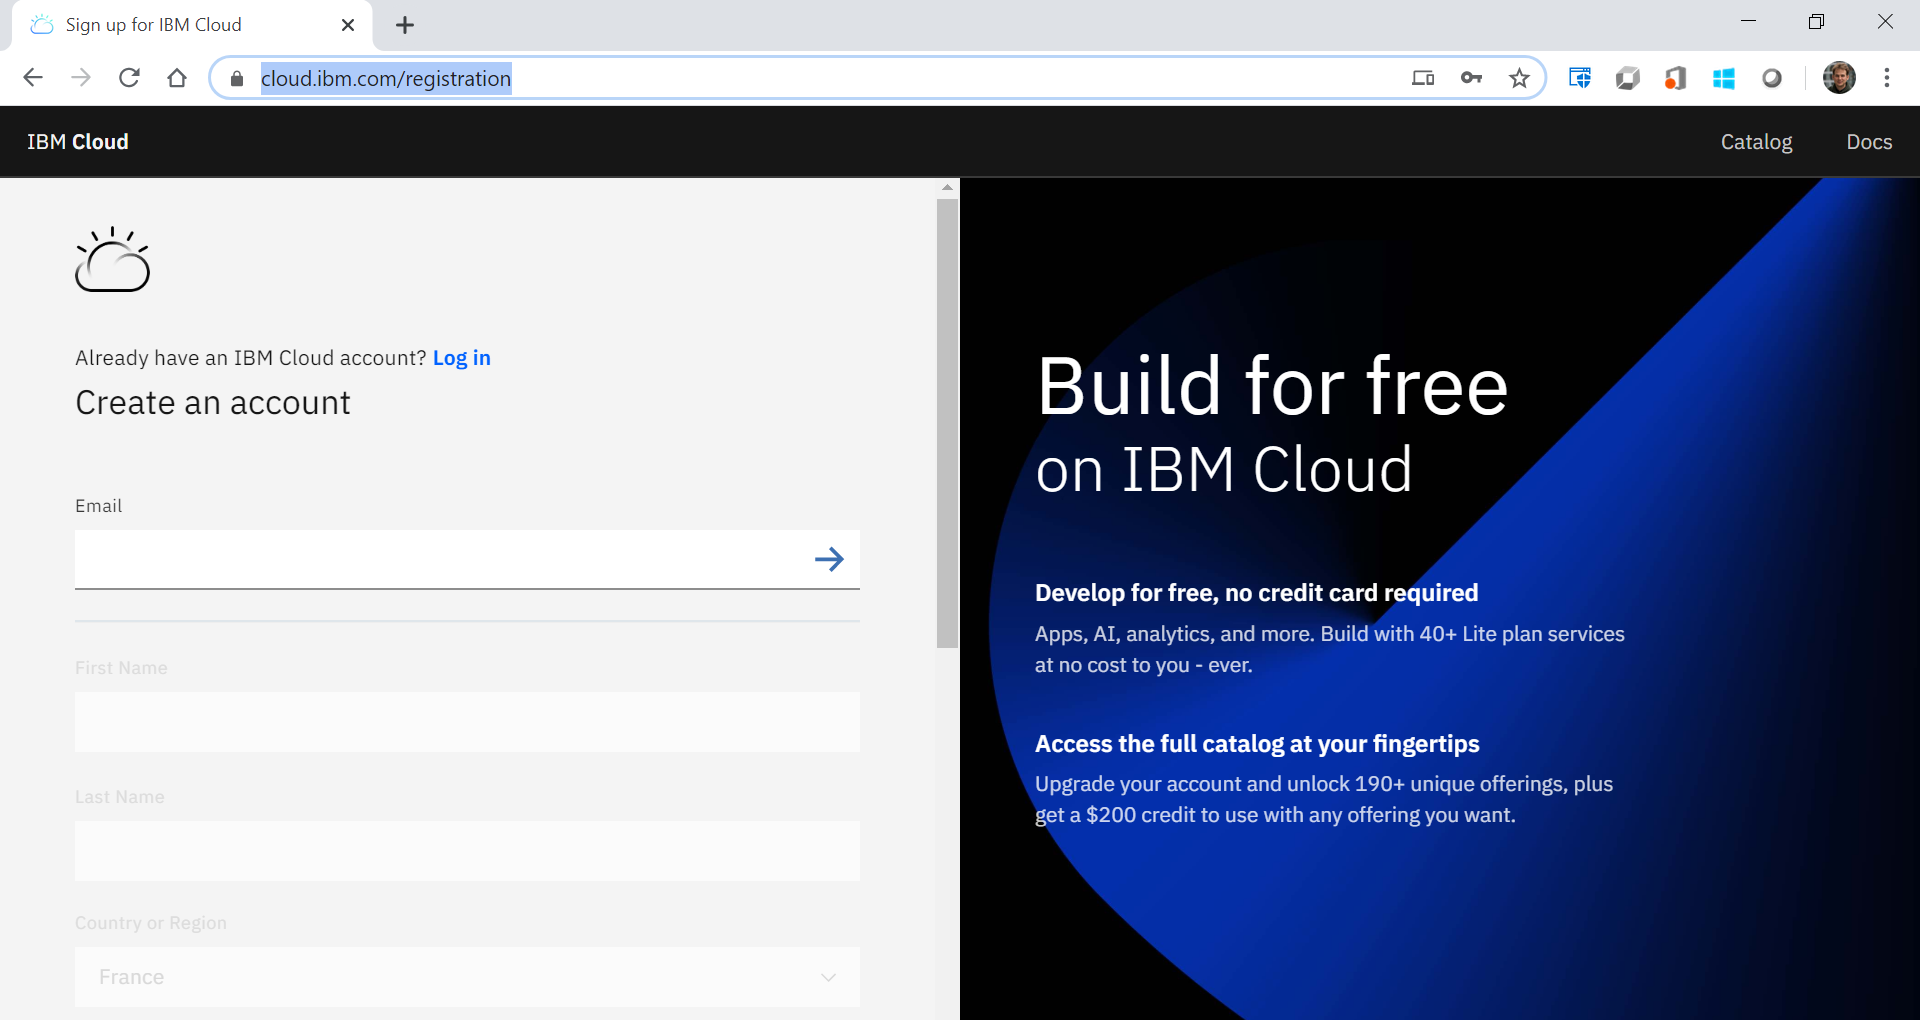
- you will be asked to confirm your e-mail address: wait for e-mail, click on the confirmation link in that e-mail
- once confirmed, log in
Step 2: Start Node-RED instance on IBM Cloud
| Info |
|---|
You will start you Node-RED instance which continuously runs on IBM Cloud. |
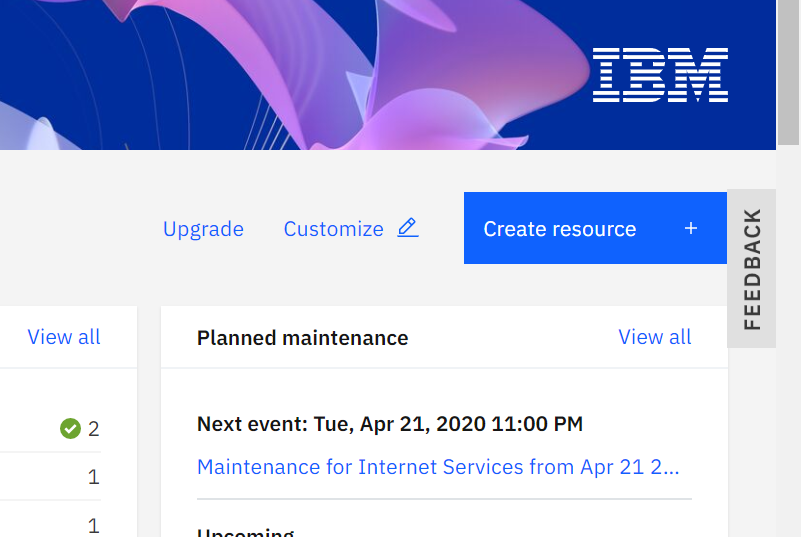
- From the https://cloud.ibm.com/ click on "Create resource"
- In the search bar enter "Node-RED"

- Click on the "Node-RED App" link
- In the "Create" tab
- give your app a name. I chose "enstawireless"
- leave all the default options
click "Create"
Tip IBM Cloud is now creating your very own instance of Node-RED.
- To start the instance, click "Deploy your app"
- Click "New" to create a new IBM Cloud API key
- Select a region close to you (the datacenter the app will run from). "London" works well
- Chose a URL for your application. I chose enstawireless.eu-gb.mybluemix.net (the domain "eu-gb.mybluemix.net" refers to the London datacenter)
- Click "Deploy" to kick off the full starting process (this takes minutes to complete):
- a "delivery pipeline"is created, which automated the way you launch the app
- the pipeline starts automatically, be patient while the Status reads "In progress"
- After a couple of minutes, the status is Success
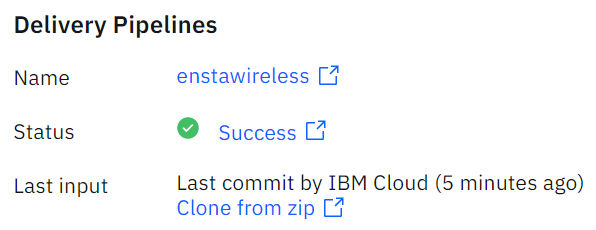
- refresh the page to see the App URL, in my case https://enstawireless.eu-gb.mybluemix.net/
Step 3: Configure Node-RED
| Info |
|---|
These steps explain what to configure the first time you launch Node-RED. |
- Navigate to your App's URL
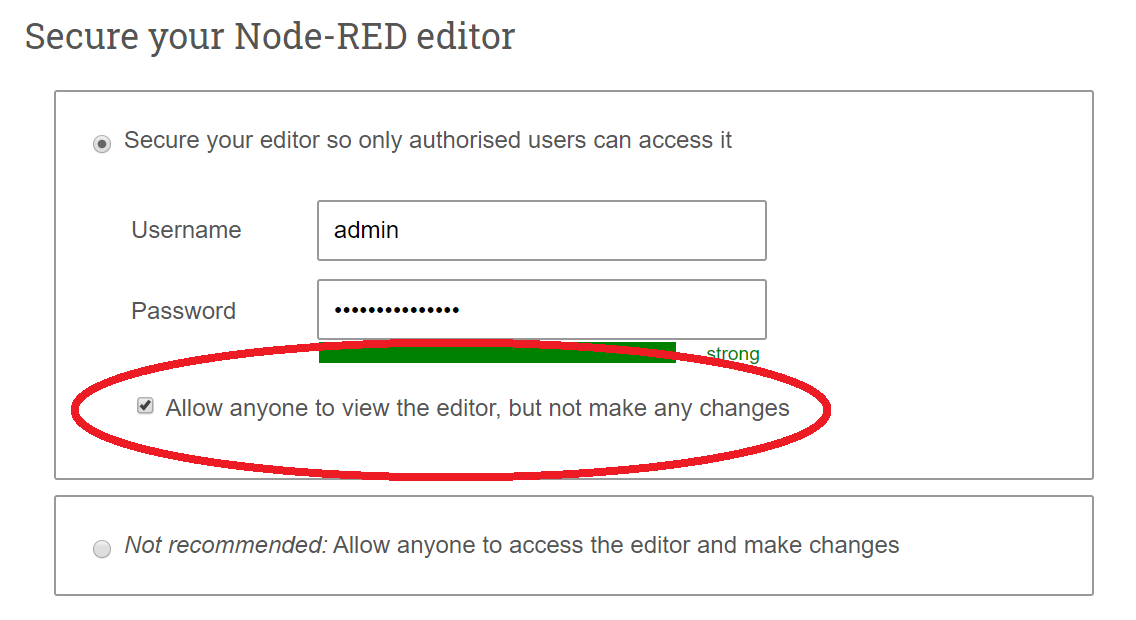
Since this is the first time you access your brand new Node-RED it asks you to chose an admin password
Note In the context of these labs, make sure to select the "Allow anyone to view the editor, but not make any changes" checkbox so your instructor can see (but not edit) your Node-RED flows.
- Click Next until the dialog disappears.
- Click the "Go to your Node-RED flow editor" button
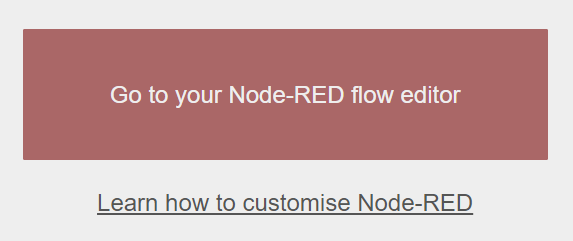
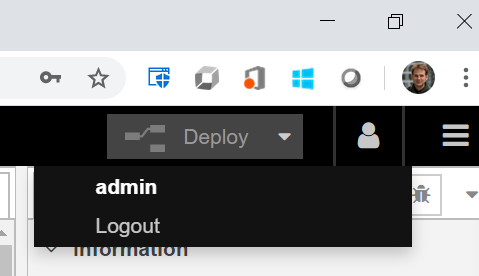
- To be able to edit your flow make sure to log in using the username and password you just chose.